

Hacking a cheap import Franken-lazer on to my CNC.
I’ve always wanted a big CO2 laser cutting machine, but cost and space constraints currently keep them out of the basement. An alternative that intrigued me was bolting a small diode laser that can simply be attached to my existing CNC gantry and make use of the 32x32 bed already occupying the middle of my floor. Jtech makes a well reviewed kit with everything you need to add one to a stock Shapeoko. They seem pretty well liked by the community, and the Dallas-based company has a great reputation for customer care, the $500-$745 price tag is a bit steep… especially once you see the sub ~$100 no-name lasers on chinese import sites. A couple folks on facebook mentioned a specific 5w model from banggood (lol) that was about $88. At that price, I figured it was cheap enough to try because what’s the worst that could happen?
DISCLAIMER NO. 1: There is a lot bad that could happen! You could fry your grbl controller and void your warranty. You could start a fire, by both shoddy electrical work as well as misusing a firing laser. And you can seriously hurt yourself and others around you, including permanent blindness. Be safe. Do your homework and buy/use the proper gear, and take care to practice safe use, including keeping friends, family and oanyone else without proper safety gear out of your shop while lasering.

So, I went ahead and ordered the cheap laser from banggood. I opted for the standard shipping so that I could order a few other things that I could be sure would arrive before hand. All of these additional items I ordered from Jtech (and yes, I did find their customer service to be fast and friendly, even though I wasn’t buying one of their lasers).
Safety Supplies: Glasses, and an extra sheet of acrylic shielding just for a second layer of protection.
Connection Kit: Alright, I basically paid $10 for a 2 cent part because i did not want to risk mis-soldering my grbl controller (and I didn’t want to bother with disconnecting/removing it).
Mounting Hardware: I was hoping the laser would just drop into the Quick Connect Magnetic Shroud and I could stick it directly to the Dust Boot Mounting Kit. Unfortunately, the laser module did not fit, so I simply hacked up my own by attaching some MDF to the laser with 3M VB and epoxying magnets to it. Not pretty, but it snaps on and pops off easily so ¯\_(ツ)_/¯. And again, thanks to Jtech for quickly refunding me for the unused shroud.
I had enough materials around the house to create my own wiring harness with quick release connections to splice into the wiring for the laser and fan. A handy tip I picked up on a facebook thread was to alternate M/F on the Laser and Fan connectors so that it would be impossible to connect the wrong wires to each other.

Two more small little bits of weirdness about the electronics. The wiring basically makes sense, with the exception of these two things. First, there are only 2 pins on the Shapeoko’s GRBL Board. I looked for a 2 pin cable that would fit the board, but after crawling around deep in the bowels of the DIY section at Micro Center and coming up empty, I just hacked up the random cable that was packed loose in the box with the laser. There is a reb, black and yellow wire. I just got my snips out and literally hacked off the yellow wire, while shaving a little of the plastic off so it would fit in the hole. It worked!
The second weird bit is the single red wire that’s dangling off. It is not needed in this application. Just let it dangle, I guess. That’s what I did. It also worked!

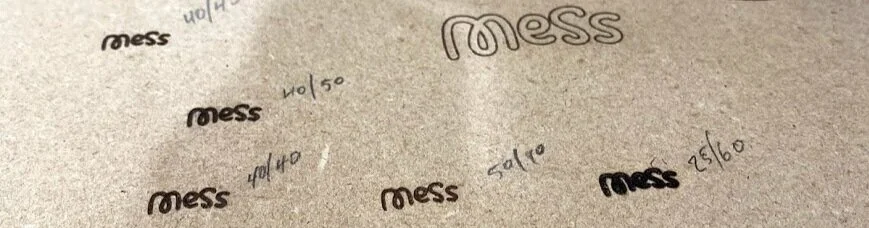
With that out of the way, you can basically now follow the instructions over at Jtech. I was able to get Lightburn up and burning in about 15 minutes, and with some trial and error, managed to get halfway decent engravings in my test MDF. I still have more to learn and tinker with, but overall, pretty stoked to have this tool in the toolbox, especially for about $150 all in as opposed to $650-$700.
DISCLAIMER NO. 2: If you do this, please don’t hurt yourself or anyone else.


